Branding
This feature is only available in ElegantOTA Pro.

Overview
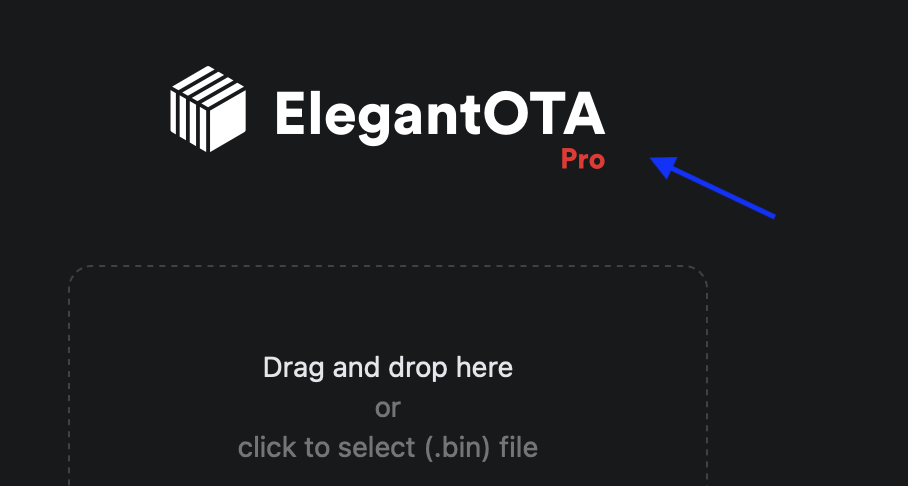
Branding in this context refers to the custom logo that is displayed on the ElegantOTA portal during the OTA update process. You can customize the logo by defining the logo image as a byte array in the logo.h and logo.cpp files of the library's source code.
To add your custom logo on the ElegantOTA portal, follow these steps:
Step 1: Prepare Your Logo
First, you need to create or obtain the logo image you want to display on the ElegantOTA portal during OTA updates. Ensure that the logo image is in a suitable format, such as a SVG (recommended) / PNG or JPG file and make sure your image is optimized & small in file size.
Step 2: Convert Logo Image to a Byte Array
To include the logo in your library, you'll need to convert the image into a byte array.
- Go to File2Raw utility ( I created this utility a few years back for the purpose of converting files into byte array for C++ applications ).
- Select your logo.
- Select "Gzip Compress" & "Use PROGMEM (Arduino)".
- Click "Convert".
Step 3: Modify logo.h
Open the
logo.hfile in your ElegantOTA library source code.Locate the
ELEGANTOTA_LOGObyte array declaration, which should look like this:extern const uint8_t ELEGANTOTA_LOGO[];Replace the length of the
ELEGANTOTA_LOGOarray with your custom logo's byte array length.Locate the
ELEGANTOTA_LOGO_MIMEvariable, which defines the MIME type of your logo image. By default, it is set toimage/png. If your logo is in a different format (e.g., JPEG), update theELEGANTOTA_LOGO_MIMEvariable to the appropriate MIME type.Set
ELEGANTOTA_LOGO_WIDTH&ELEGANTOTA_LOGO_HEIGHTaccording to your desired size which will be displayed on the webpage.
Step 4: Modify logo.cpp
Open the
logo.cppfile in your ElegantOTA library source code.Replace the contents of the
ELEGANTOTA_LOGOarray with your custom logo's byte array generated in File2Raw utility.
Step 5: Upload the Modified Library
After making these changes, compile and upload the modified ElegantOTA library to your device.
Using the Custom Logo
Once you have uploaded the modified ElegantOTA library to your device, the custom logo will be displayed on the ElegantOTA Portal webpage during OTA updates.
That's it! You have successfully added custom branding to the ElegantOTA portal by defining the logo as a byte array in the logo.h and logo.cpp files. Your logo will now be displayed on the ElegantOTA portal.
Please note that branding, including logos and images, may be subject to copyright and trademark laws. Ensure you have the necessary rights or permissions to use any branding elements in your project.